Drawing with light
step by step guide -
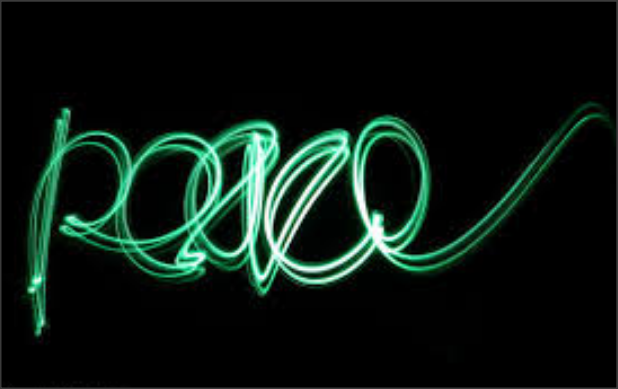
What is light painting and how is it captured?
Light painting is a photographic technique that involves the movement of light whilst the cameras shutter is open. In order to capture the moving light source you will need to set your camera to a long exposure, this can be anything from 10 seconds to several minutes depending on how much light you want to expose. Light painting is best done in the dark and somewhere fairly secluded so that you can keep in control of your image and the light you want exposed to the sensor.
Equipment needed
- A sturdy tripod or solid surface: If you're using a long exposure then you will need to keep the camera still to avoid any blur, so a tripod is a must.
- A camera that allows you to set your shutter speed. Not all light painting activities require a lengthy exposure, anything from 10-20 seconds will be enough to get you started.
- Light painting tools: Glow stick, torch, matches, sparklers, a flashgun (to light up your scene), your phone, etc.
- Wireless remote(recommended): A remote enables you to release the shutter and keep it open for as long as the camera will allow without having to hold down the button yourself. Remember to set your camera to "Bulb" so that you have full control over the exposure.
- A flashgun: This isn't essential and something I didn't need to use myself but if you have one it can be used to light up or freeze a particular object or scene before starting your light painting.
Camera settings
- Aperture: You can use anything from a large aperture (small f-number) at f/4 to a small aperture (large f-number) at f/22. As long as you stop down enough so that your point of interest is in focus and sharp then that is all that matters.
- Shutter speed: The shutter speed depends on your location, the type of effect you are going for and how much light is around you - taking into consideration any ambient light too. If you're in a dark room experimenting with an object then 10-15 seconds is usually fine to start with.
- ISO: Use the lowest ISO setting possible to avoid grain (noise) creeping into your shot.
- Focusing: Set the lens to manual focus and focus by twisting the focus ring at the end of your lens. Because you will be shooting in the dark if you set the camera to autofocus it will struggle to focus and the camera will try to refocus each time you press the shutter button.
- Position your camera or object to where you want it - try experimenting with a variety of perspectives
- Attach your camera to your tripod and set it to the right height
- Manual focus on the subject whilst the lights in your house are switched on. Alternatively, if you're shooting outside then you can use your torch instead
- Once the focus has been set, adjust the shutter speed and turn off the lights
- Release the shutter, either by using a remote or by manually pressing the shutter button
- Once the shutter has been released (listen out for the click sound) quickly get into position and then turn on your light source (EG. torch, glow sticks) and begin painting
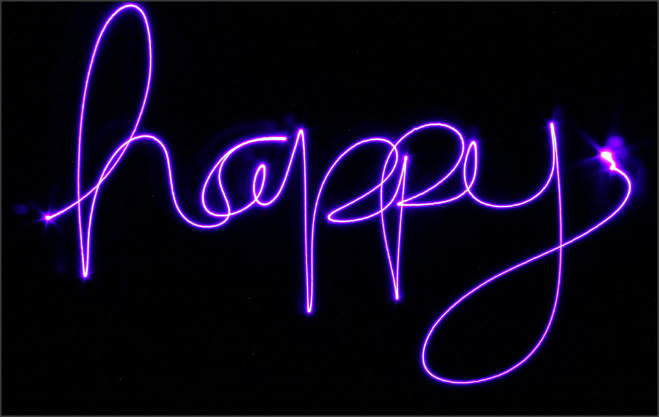
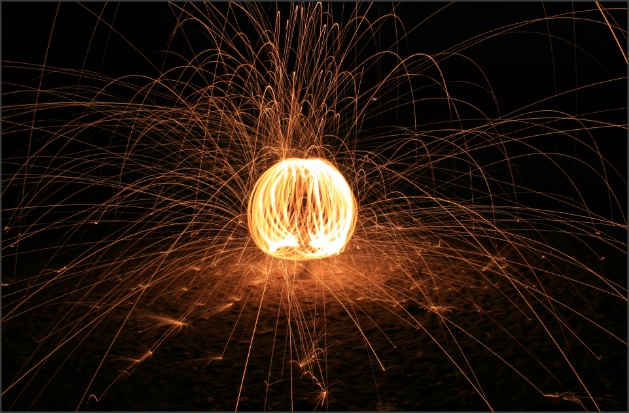
Different types of light painting .There are many different ways to paint with light. Here are few of the different techniques and tools we've tried...
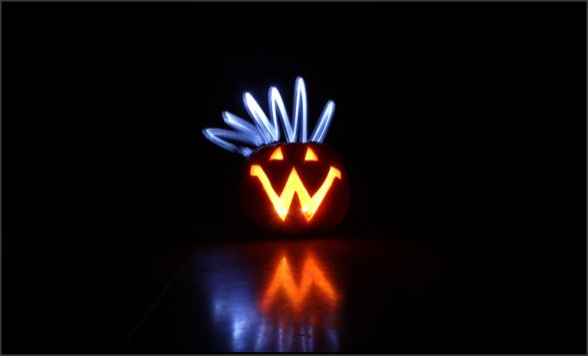
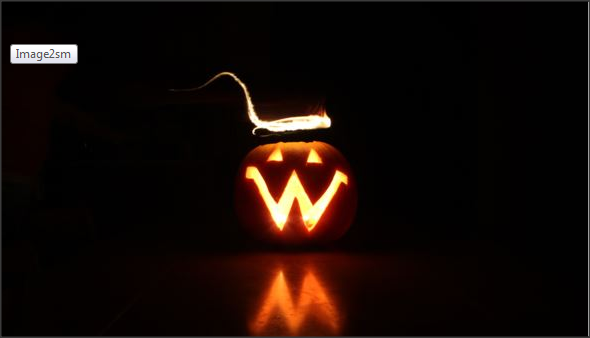
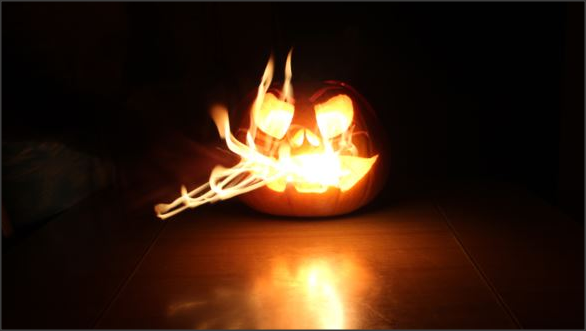
Light-painting objects indoors started with using an object inside my house as this allowed me to have full control over my environment and the light source. As it was Halloween, I used a pumpkin to practice on but you can use something that requires less work such as a chair, guitar, lamp, or even a family member.
I have got this information from https://www.wexphotovideo.com/blog/tips-and-technique/painting-with-light-and-long-exposures/